If you just received your digital certificate through Facturaz, you now have a small file on your computer that works as your official online ID. To actually use it (signing documents, logging into Hacienda or Seguridad Social) you need a free program called AutoFirma. This guide sets up both, one step at a time, with no technical knowledge needed.
The two pieces, in plain words
People mix these up constantly, so let us settle it first.
- Your digital certificate is a file on your computer. It ends in .p12 (sometimes .pfx) and it proves you are you. If you got your certificate through Facturaz, this is the file you downloaded, protected by a password you chose.
- AutoFirma is a free app from the Spanish government. It does not give you a certificate. It reads the certificate you already have so you can sign documents and log into official websites.
You need both. Think of the certificate as your key. AutoFirma is the lock it fits into.
Before you start
Have these two things ready:
- Your certificate file, the one ending in .p12 or .pfx.
- The password you set when you created the certificate. Without it the file cannot be opened, so find it now.
Step 1: Locate your .p12 file
First, make sure you can find the certificate file. On most computers it landed in your Downloads folder when you saved it. The name usually contains your own name or your NIF. The file ends in .p12 or .pfx.
If you cannot see it, search your computer for .p12:
- On Windows: open File Explorer, click the search box at the top right and type .p12
- On Mac: open Finder, press the Command key and the space bar to open Spotlight, then type .p12
Found it? Keep that window open. You will need the file in a moment.
Step 2: Install AutoFirma on Windows
AutoFirma is free and comes straight from the government. Here is how to install it on a Windows PC. If you use a Mac, skip to Step 3.
- Open firmaelectronica.gob.es, go to the downloads section and download the Windows version of AutoFirma. It arrives as a ZIP file.
- Find the ZIP in your Downloads, right-click it and choose Extract All.
- Close every browser window before you continue. The installer needs them shut.
- Double-click the installer (its name starts with AutoFirma). If a blue "Windows protected your PC" message appears, click More info, then Run anyway. This is normal for official software.
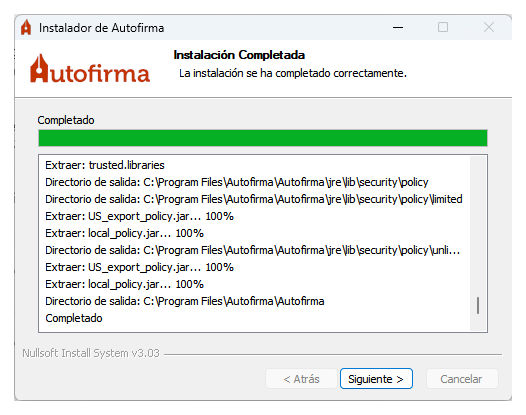
- Accept the terms, keep the default options and let it finish. If it offers to install a security certificate, say yes.
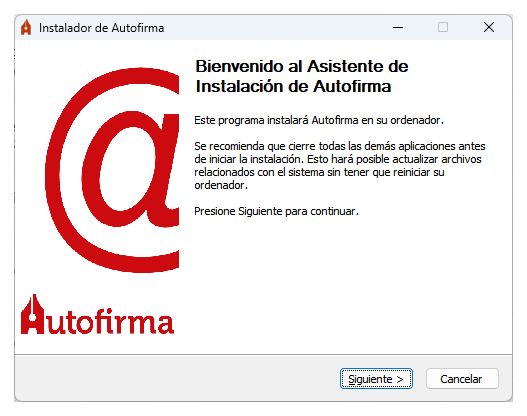
When the installer reaches the end, it confirms that AutoFirma is installed.
Step 3: Install AutoFirma on Mac
The Mac steps are just as short. If you already did this on Windows, you do not need to repeat anything here.
- Open firmaelectronica.gob.es, go to the downloads section and download the macOS version of AutoFirma. You get a file ending in .pkg (something like "AutoFirma_X.Y.Z.pkg").
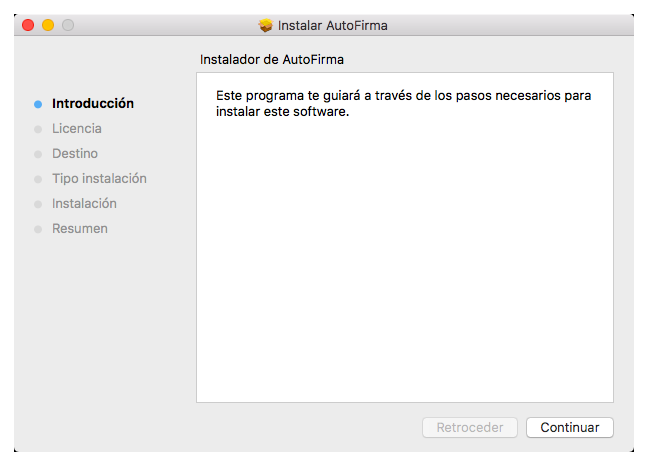
- Double-click that .pkg file. The macOS installer opens. On the welcome screen, click Continue.
- Accept the license agreement: click Continue, then Agree.
- Keep the disk it suggests (usually "Macintosh HD") and click Install.
- Your Mac asks for your username and password to allow the install. Type them and click Install Software.
This is the installer welcome screen:
And this is the point where your Mac asks for your administrator password:

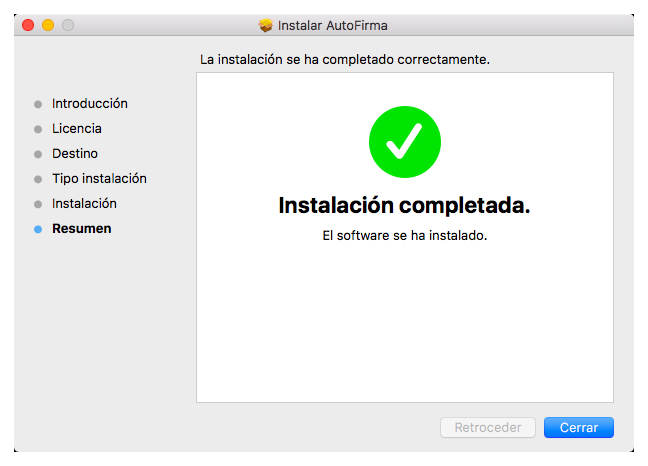
When it finishes, you see a green tick with the message "Installation completed". Click Close and you are done.
Two small notes: if Firefox is open, the installer asks you to close it before it can finish. If your Mac ever blocks the installer with an "unidentified developer" warning, open the Apple menu, go to System Settings, then Privacy and Security, scroll to the bottom and click Open Anyway.
Step 4: Add your certificate so AutoFirma can find it
AutoFirma reads certificates from the place your system keeps them. You only need to put your .p12 file there once. The easy way works the same on Windows and Mac: double-click your .p12 file.
A short wizard opens and asks for the password you set earlier. Type it, confirm the steps and the certificate installs itself.
- On Windows: the Certificate Import Wizard appears. Keep the default options, enter your password when asked and finish.
- On Mac: the Keychain Access app opens. It asks for your certificate password, then possibly your Mac login password to confirm. Allow it.
That is all. Your certificate now lives in your system, exactly where AutoFirma looks for it.
Step 5: Check that everything works
Here is the quickest test:
- Open the AutoFirma app.
- Click Select file to sign and pick any PDF.
- A list of certificates appears. If yours is on the list, you are done. Your certificate, your system and AutoFirma are all connected.
You can also try the real thing: go to an official website such as the AEAT Sede Electrónica, choose to enter with a certificate and see if it logs you in.
Keep a backup (please do not skip this)
If your computer breaks or you reset it, a certificate you never backed up is gone for good. Protect yourself now.
- Copy your .p12 file somewhere that is not only on this computer, such as an external drive or private cloud storage.
- Write the password down and keep it somewhere only you can reach.
To use the certificate again on any computer, you double-click the file and enter the password. That is the whole reason the backup matters.